
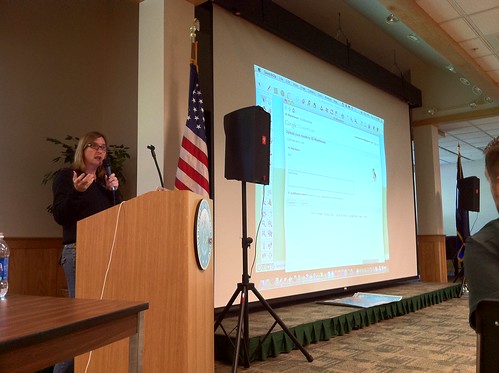
These are my notes from the Google SketchUp workshop led by Allyson McDuffie at the September 27, 2011, Google Geo-Teacher Institute in Lewiston, Maine. MY THOUGHTS AND COMMENTS ARE IN ALL CAPS. Allyson’s bio on our conference presenter’s page is:
Allyson McDuffie manages the SketchUp for Education Program at Google, which has taken her to many parts of the globe spreading the SketchUp love to educators and students alike. She has been with Google for 5 years and is a co-organizer of the Geo Teacher Institutes. She graduated from Ohio University with a BFA in Studio Art, and an MFA in Printmaking. Although an Ohio native, she has lived and worked in Boulder, Colorado for the past 19 years. She enjoys making art, hiking in the Rocky Mountains, and raising her 10 year old daughter, Avery, who is destined to save every animal on the planet.
Incredible Google Sketchup videos by Andrew Nathanson who started using Sketchup in middle school
Google Tech Talk by 16 year old Eric Yam in 2009: Designing a Space Settlement
Project Spectrum was created to give people with autism the opportunity to express their creativity and develop a life skill using Google SketchUp 3D modeling software
SketchUp Pro K-12 Statewide Grant
– check your state, you may already have free licensing available
– NZ has a country-wide license for students
Hundreds of Google SketchUp tutorials are all available
– official Google SketchUp Blog
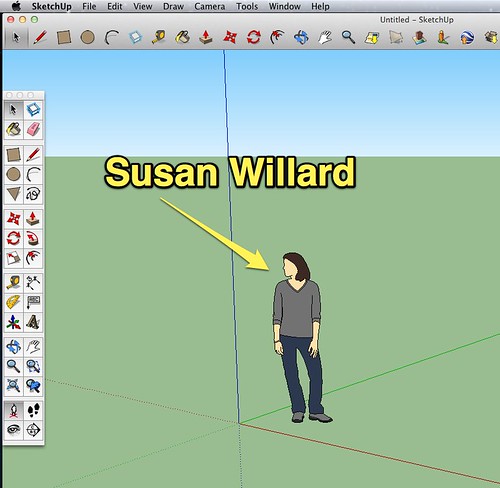
Susan Willard is a Google Engineer who worked on the original Google Sketchup, every time a new version of SketchUp comes out a new person/model is included to give designers a relative sense of scale. She’s the first female to be the default SketchUp model! (Version 8 is out now)
SketchUp is primary a “click and release” program, generally it does NOT require clicks and drags
The push/pull tool is the primary thing SketchUp is known for (40 commands aren’t required to create a simple cube)
– it’s a patented tool
– you have to be hovering over a surface, and it highlights to show you are “about to engage” with that surface
Triple click any object in SketchUp and EVERYthing connected to that object will be deleted
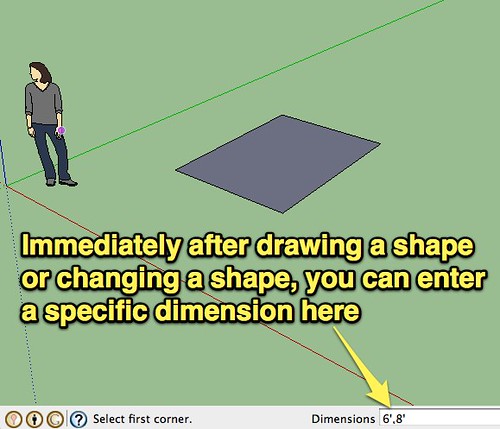
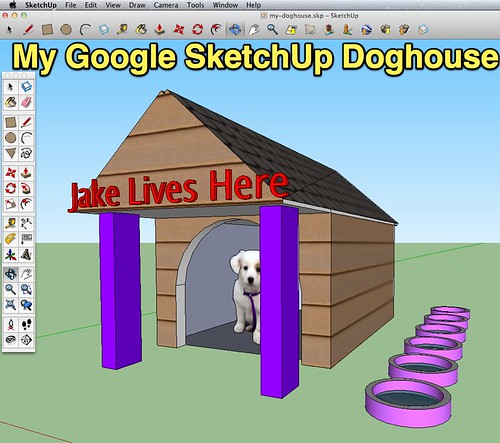
You can enter specific dimensions after you create a shape by clicking in the dimensions field (lower right corner)
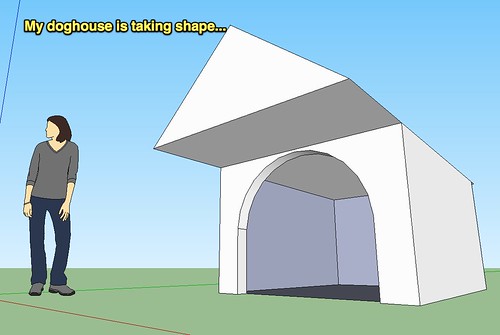
Use the arc tool: click on top two corners of a rectangle, then move your mouse up to create an arc
– then use push pull tool to push in 5 inches… use selection arrow to choose the interior
– draw a line on the front of your doghouse to make a triangle at the top, then use push/pull to create an overhang
Next tools we learned:
– move/copy
– fill (paint bucket)
– colors (roofing and brick/cladding)
We also saw how to make an item a “component” so every change you make to one of those component objects affects/takes effect on the others
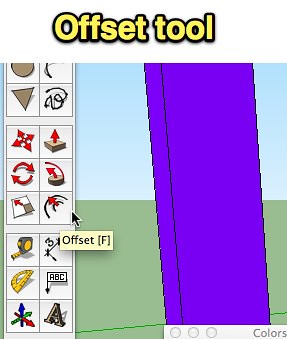
Now learning the offset tool making our dog bowl
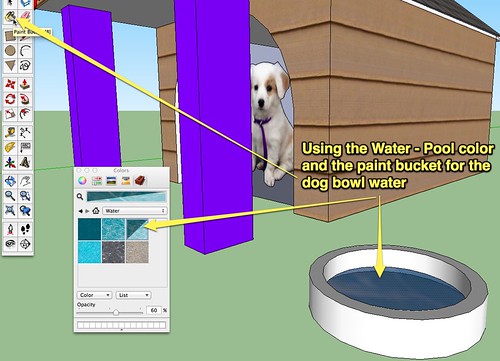
Used “Water Pool Light” color for the water in our dog bowl
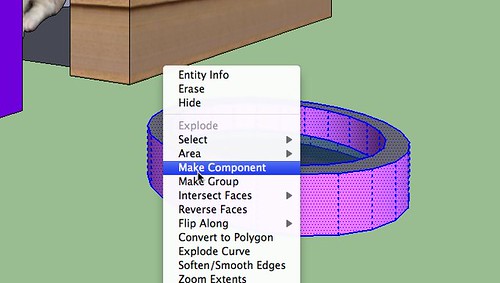
Remember you can triple click (fast) an object to select the entire thing (you can also click and drag a box that surrounds it)
– for our dog bowl, after selecting it we right clicked and choose MAKE COMPONENT
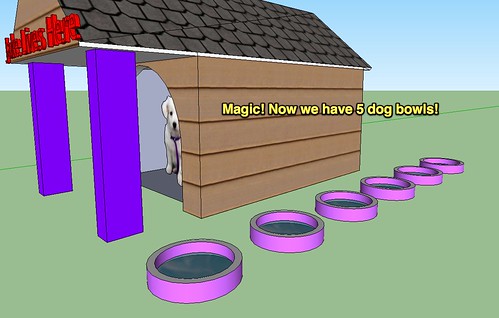
Then to make 5 copies, I held down the option key, used the move tool to click and drag the bowl to the side, then after releasing the mouse IMMEDIATELY typed “5x” and pressed return.
You can edit components by right clicking them and choosing EDIT COMPONENT
Choose WINDOW – COMPONENTS to directly search the Google 3D Warehouse from inside Google Sketchup
When you use other people’s components
NEW PROJECT: Now we’re going to learn how to model a real building that actually exists
– first step, go to VIEW – TOOL PALETTES, GOOGLE to show the Google tools
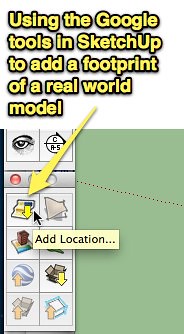
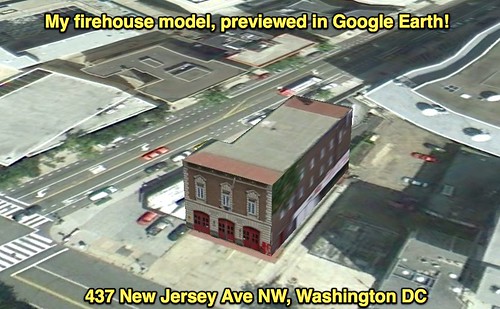
437 New Jersey Ave NW, Washington DC
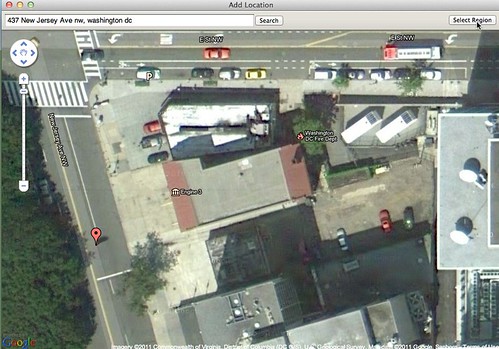
Very important step: change your axis setting in SketchUp
Now, we’re going to use the “penman” icon in the same Google toolbar to import actual textures from the REAL building, taken with Google street view cameras
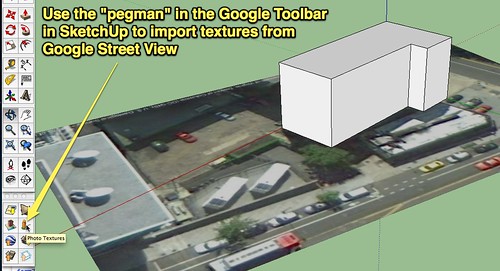
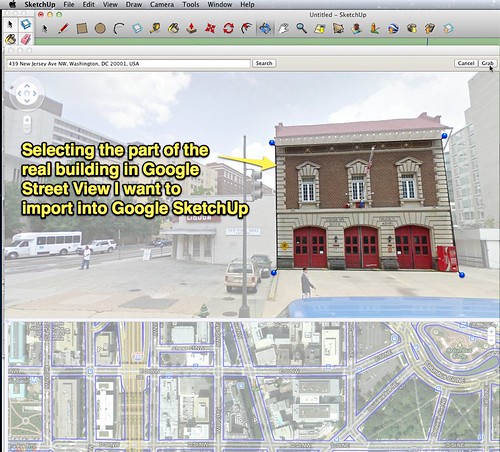
Select the face of the building you want to import, click on it, then use the photo textures window to select (grab) and import the part of the building photo you want
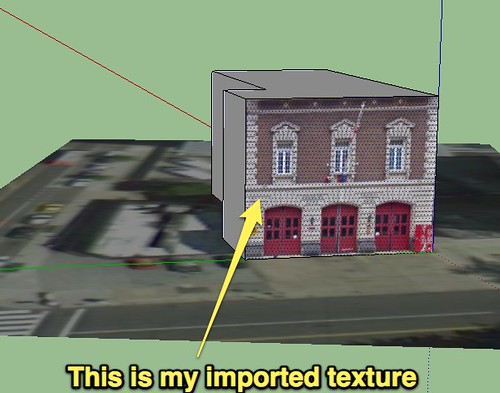
This is the imported texture of that building
If you don’t have a street view image, you can take your own photograph and import it (FILE – IMPORT in Sketchup)
– right click the imported picture and choose TEXTURE, then mark the parts of the image you want to use/import
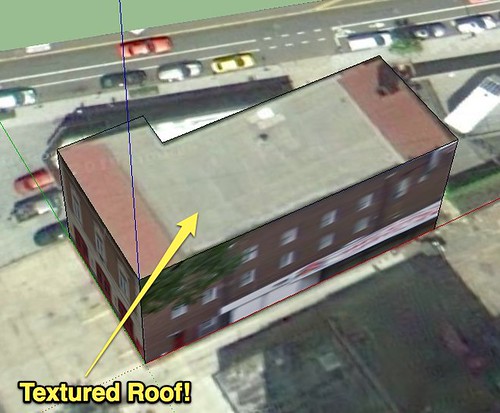
To import the overhead footprint of the roof, select the paint bucket tool. Hold down the command tool, then click somewhere beside it. (you’ll have an eyedropper tool when command is held down)
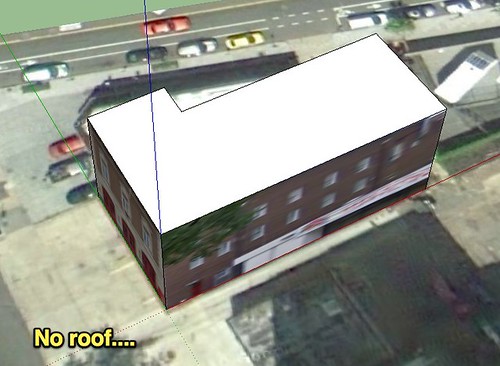
Next, release the command key and click on the roof. Whoa la! You have a textured roof!
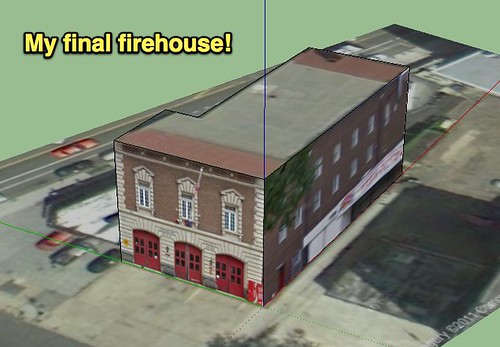
Big tip: to be accepted into the 3D warehouse, you MUST use photos for your building textures, you can’t use colors/textures built into Google SketchUp
My final firehouse!
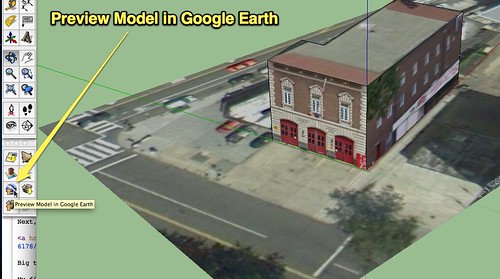
Now… preview in Google Earth in the correct location!
Here’s my OWN model of this firehouse building in Washington DC, previewed in Google Earth! I’m so excited – can’t believe we actually learned to do this today!
Remember there are LOTS of great video tutorials on our GTI website!
Also remember to join the Google GeoInstitute Group!
Technorati Tags: design, geography, google, gti, gti2011, sketchup, model, modeling
Comments
One response to “Google SketchUp Workshop (Sept 2011)”