
The following steps are included in the “Video” chapter of the forthcoming EPUB eBook, “Playing with Media: simple ideas for powerful sharing.” This is an example of “quick-edit” videography, which can compliment “no-edit” videography in support of the “ethic of minimal clicks.” This final video, “Learning About NASA Mission Control in Houston,” is available on YouTube.
After recording a series of videos using an iPad, the iMovie app ($4.99) can be used to edit and combine the videos into a single file. That video file can then be directly uploaded to YouTube from the iPad, using an available wifi Internet connection.
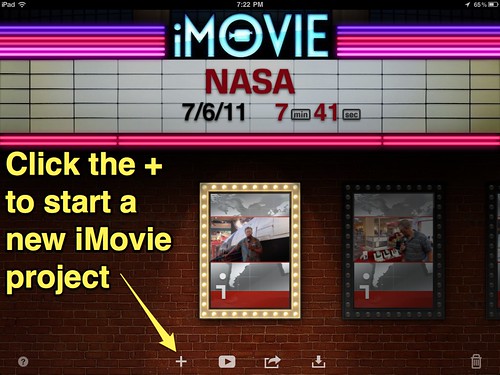
1. Start an iPad iMovie by clicking the “+” icon at the bottom of the screen.
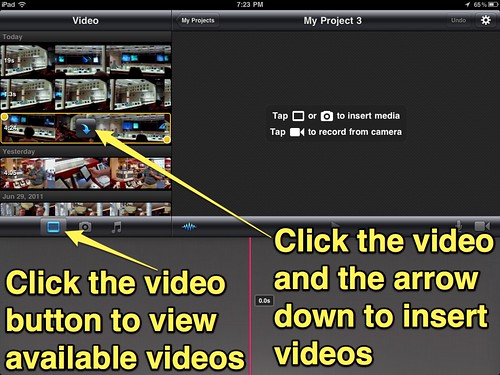
2. Click the video window to show available videos on the iPad. These are videos which have been saved to the Photo Roll. Click the arrow on a video to insert it into your project where the playhead (the red line) is positioned.
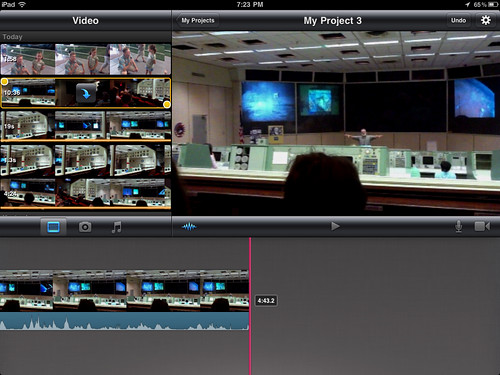
3. Note as videos are inserted into a project, iMovie for iPad adds a yellow border around them in the video library. This makes them appear different from other videos so you can identify ones not yet imported into the project. (They won’t have a colored border around them.) Also notice the total time of the imported video is shown at the end of the last clip.
4. Click the settings icon (it looks like a gear) in the upper right corner to choose a theme for your project. My favorite is the CNN iReport theme, since it allows you to show your location as well as a project title at the start of your video.

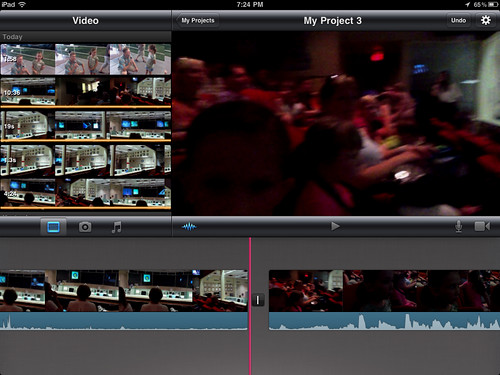
5. To “split” a clip into two parts, first drag the clip so the playhead (red line) is on the spot where you want it split. Think of a split like you are cutting the video into two pieces with a virtual knife. Click on the clip ONCE to select it. It should be highlighted in yellow when selected.
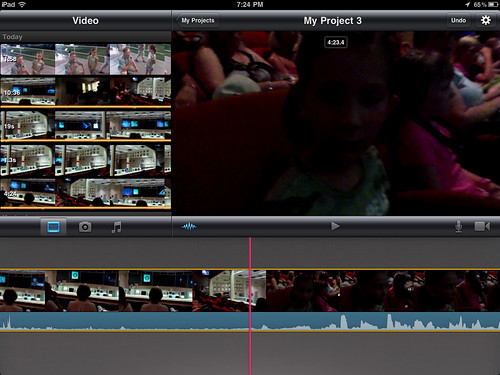
6. Next, swipe your finger down, across the clip over the red playhead line. This will split the clip into two pieces.
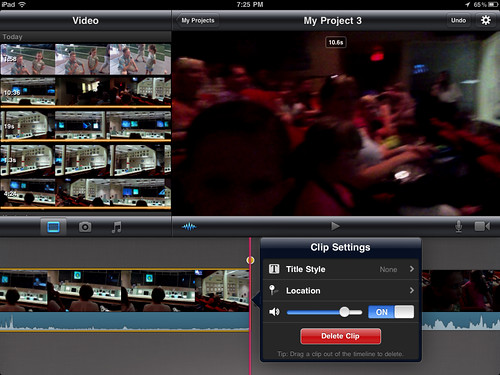
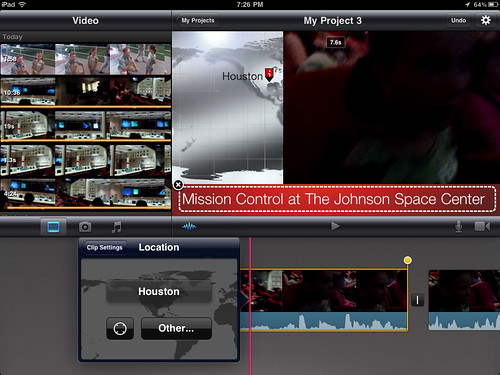
7. Double click a clip to make changes to the settings for it. These include setting a title, a location (used in the opening title of the iReport theme) and adjusting the clip’s audio level. Individual clips can also be deleted from this menu.
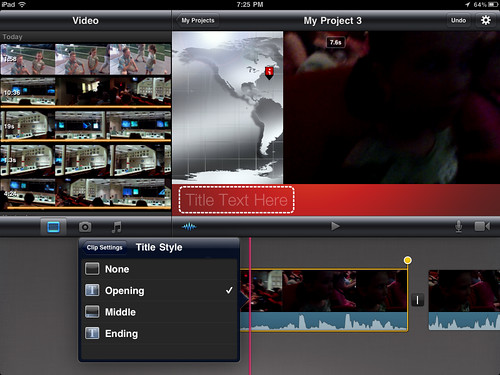
8. Select the Title Style and choose the desired option. Color and formatting differences apply to different title styles. The iReport theme includes three styles for the opening, middle and ending of the video.
9. Text can be entered for each title style by touching the “Title Text Here” area in the video preview window. Text will resize automatically to fit in the space provided.
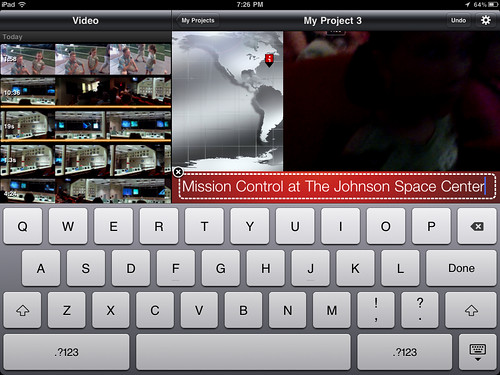
10. Enter a location, if desired, to show where your video was recorded in the opening title segment. Note you will want to split the segment from the rest of the video, five to ten seconds into the clip, so the opening title is only displayed at the start.
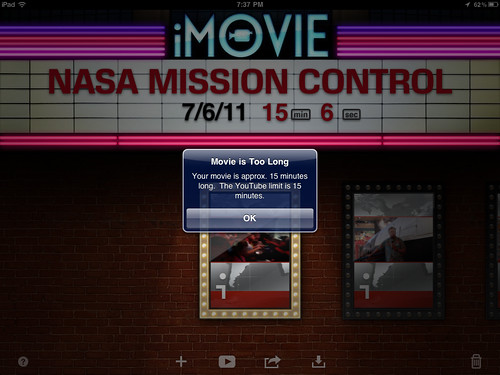
11. Click the MY PROJECTS tab at the top of the screen to return to the starting menu for iMovie for iPad. Click the title to change it as desired. In the example shown, the total length of the edited movie at this point was just over fifteen minutes. Since YouTube limits uploaded videos to a maximum of fifteen minutes, this video had to be further edited so it would meet the YouTube length requirement.
12. Individual clips can be trimmed by clicking on them once to select them. This will reveal “trimming handles” which look like dots above the starting and ending points of a clip. Drag these trimming handles to the left or right to shorten or lengthen a clip as desired.
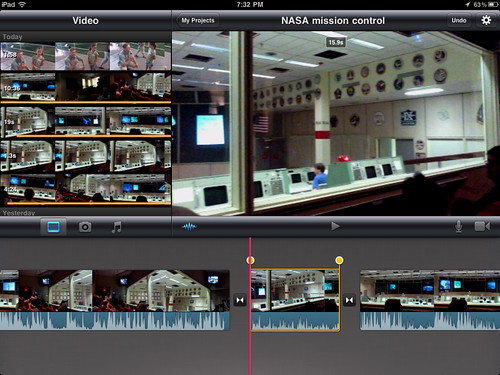
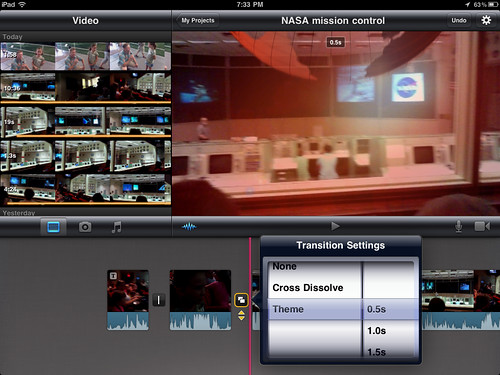
13. Transitions are automatically inserted between different clips in your iMovie. Click on the transition icon between clips to modify it. By default a cross-dissolve transition is used. Custom theme transitions can be used also, however, and the duration of some transitions can be customized.
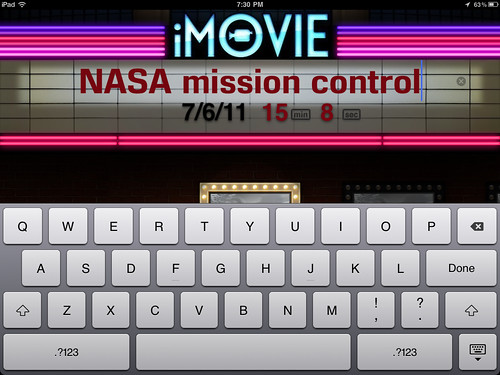
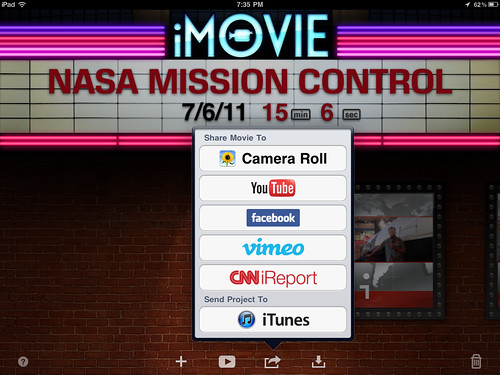
14. When you are finished editing and ready to publish your project, click the MY PROJECTS tab at the top to return to the home screen. Then click the publish icon at the bottom of the screen, which looks like a box with an arrow on it. Select the desired location for sharing. In this example, I selected YouTube.
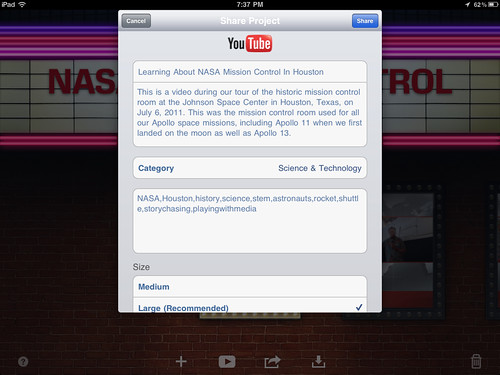
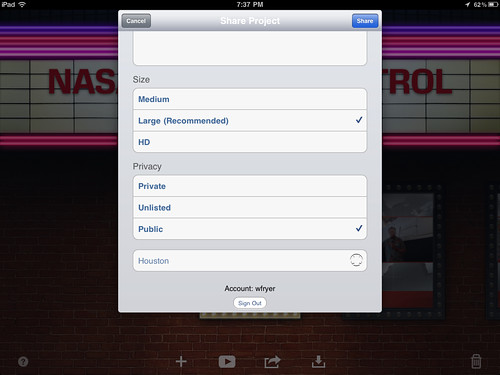
15. Enter the desired title, description, category and tags for your video. Additionally, choose the size to share (large is recommended) and the privacy settings. Generally I recommend setting this to public. Be sure you have permission from those included in your video to share it publicly on YouTube, and be sure to comply with the copyright guidelines for videos available on YouTube.
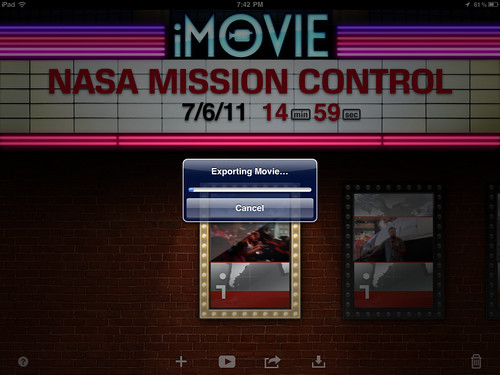
16. Click SHARE in the upper right corner. Your video will now EXPORT into a compressed format and then upload directly to your YouTube account, which you will be prompted to sign into if you have not already.
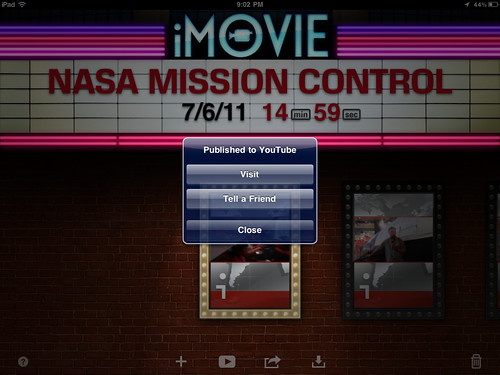
17. After your video is published, iMovie will display a screen with the option to TELL A FRIEND. If you select this option, you can email yourself the direct link to your video. Alternatively or additionally, you can email this link to a free blog you’ve created on Posterous.com. This will “auto-embed” your video on your blog, directly from the iMovie for iPad application.
Seventeen steps may seem like a lot, but if you’ve ever edited and published a video using desktop software you’ll recognize this workflow is substantially simpler. iMovie for iPad can be used to support “the ethic of minimal clicks” in classroom technology integration. More applications will hopefully be developed in the months and years to come which will also make the process of editing and publishing videos even easier. At this point, however, iMovie for iPad makes this process as simple as I’ve ever seen or experienced it.
I challenge you to give it a try!
Cross-posted to “Playing with Media.”
If you enjoyed this post and found it useful, subscribe to Wes’ free newsletter. Check out Wes’ video tutorial library, “Playing with Media.” Information about more ways to learn with Dr. Wesley Fryer are available on wesfryer.com/after.
On this day..
- Email Multiple Photos from an iPad to A Blogger Site – 2013
- Nebraska Science Teachers Model “Go Outside” Best Practices with Students – 2011
- Surviving the Liberian Civil War – A Personal Story – 2010
- Google Images now integrates Creative Commons Searches – 2009
- The challenge: Record “Geek Rockstar” – 2008
- Leverage Multimedia in Your Online Courses by Eric Fudge (integrating SCORM within your LMS) – 2008
- links for 2008-07-09 – 2008
- Graphic design fun – 2007
- Rethinking out of state tuition – 2006
- Ethnic cleansing in Iraq – 2006
Comments
2 responses to “Quick-edit Videography with iMovie for iPad”
[…] I am apparently the last person on earth who does not yet have an iPad. Anyway, those that have them are using them for video editing, as described here: Quick-edit Videography with iMovie for iPad « Moving at the Speed of Creativity. […]
How do you speed up???